Easily Convert your Google Sheets to JSON file
You can convert your google sheets to JSON files within 5 minutes from now using these simple steps.
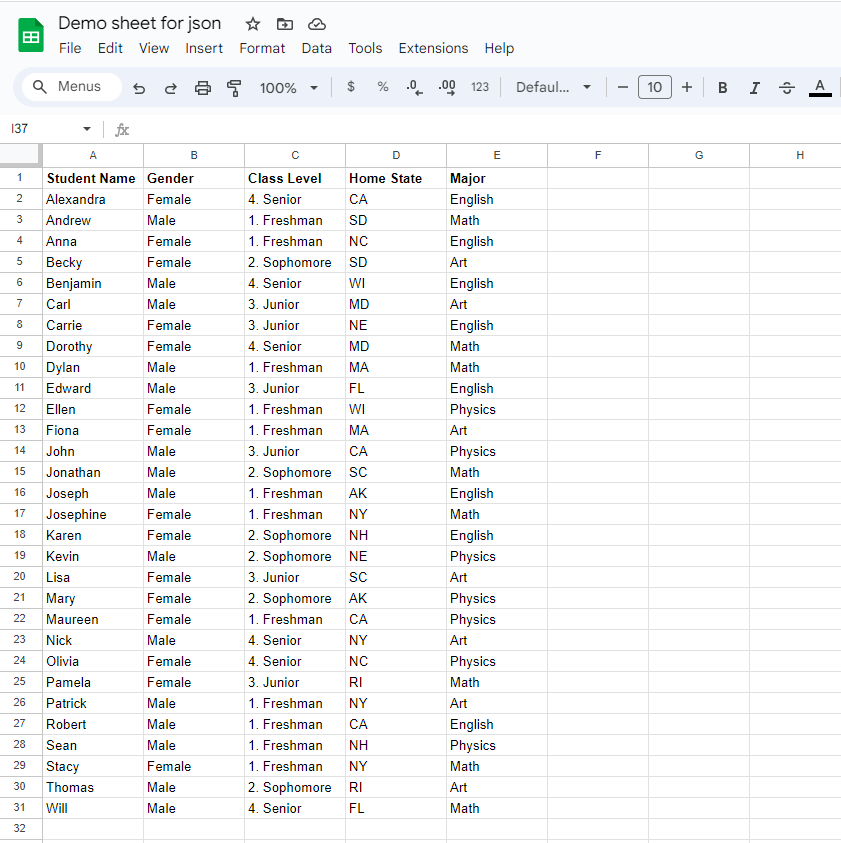
To start the process you’ll need to take a Google Sheet.
Here is a screenshot for Google sheet that shows a student list from multiple levels:
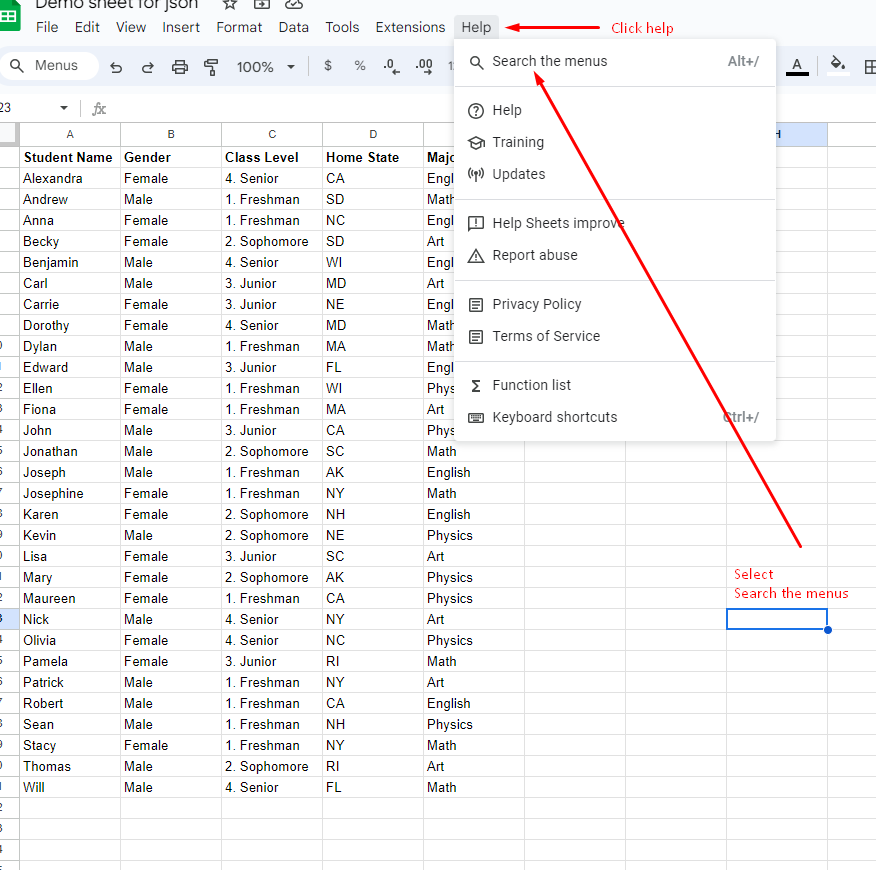
Then click Help from the top menu and select Search from the menu items
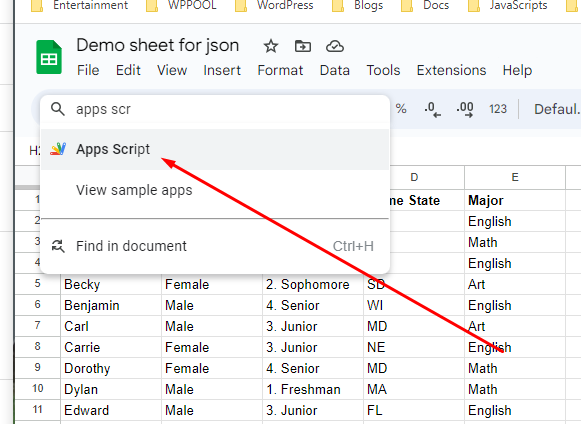
Type Apps Script and select the Apps Script option
This will take you to the Apps Script page in a new tab, here you have to edit the code in the code.gs file. Also, you can take help from App Script Sheets Documentation
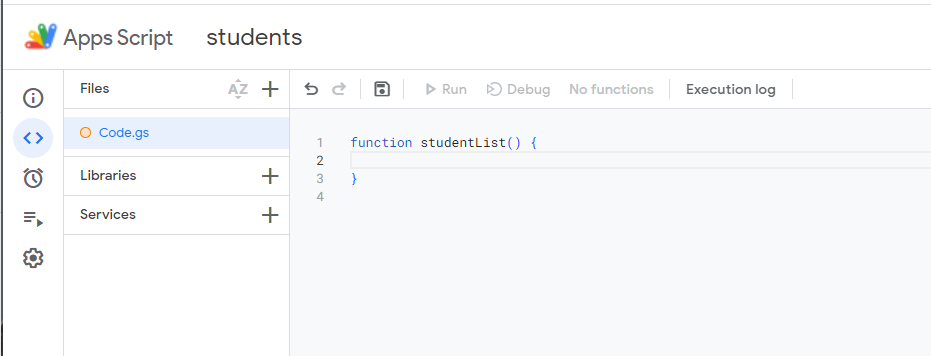
Here is a function you can change the name. For example, here the name is studentList, and a request parameter is named req.
function studentList(req) {

}
Then take the sheet reference as a variable named studentsDoc . This is the sheet that we are working on for making JSON
function studentList(req) {
   var studentsDoc = SpreadsheetApp.getActiveSpreadsheet();
}
Then we have to take our Sheet name. Here our sheet name is student_info, . You can take as many sheets as you want in the single Spreadsheet for your work purpose.
Now take the Sheet name as a variable.
function studentList(req) {
   var studentsDoc  = SpreadsheetApp.getActiveSpreadsheet();
   var sheet = studentsDoc.getSheetByName('student_info');
}
You can do anything by this sheet reference like Get, Read, Edit, Add, and Remove.
Now, take the sheet’s value in a variable. In my case, I named it values, then take an empty array. I named it output for taking the values in JSON format.
function studentList(req) {
    var studentsDoc  = SpreadsheetApp.getActiveSpreadsheet();
    var sheet = studentsDoc.getSheetByName('student_info');

    var values = sheet.getDataRange().getValues();

    var output = [];
}
Now we will collect the values of the sheet in the form of a separate object for each row in the array called the output.
function studentList(req) {
    var studentsDoc  = SpreadsheetApp.getActiveSpreadsheet();
    var sheet = studentsDoc.getSheetByName('student_info');

    var values = sheet.getDataRange().getValues();

    var output = [];

    for (var i = 0; i < values.length; i++) {

        var row = {}

        row['studentName'] = values[i][0];
        row['gender'] = values[i][1];
        row['classLevel'] = values[i][2];
        row['homeState'] = values[i][3];
        row['major'] = values[i][4];
        output.push(row);
    }
}
Now we can take output this object as a JSON file
function studentList(req) {
var studentsDoc = SpreadsheetApp.getActiveSpreadsheet();
var sheet = studentsDoc.getSheetByName('student_info');
var values = sheet.getDataRange().getValues();
var output = [];
for (var i = 0; i < values.length; i++) {
var row = {}
row['studentName'] = values[i][0];
row['gender'] = values[i][1];
row['classLevel'] = values[i][2];
row['homeState'] = values[i][3];
row['major'] = values[i][4];
output.push(row);
}
return ContentService.createTextOutput(JSON.stringify({data: output})).setMimeType(ContentService.MimeType.JSON);
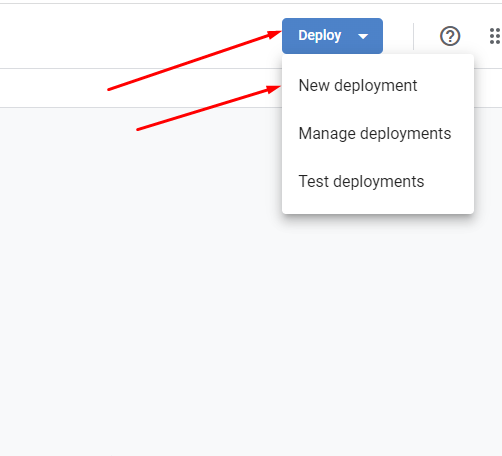
}Now, in the final stage, to deploy the document, Click the Deploy button in the right top corner then click new deployment from the dropdown
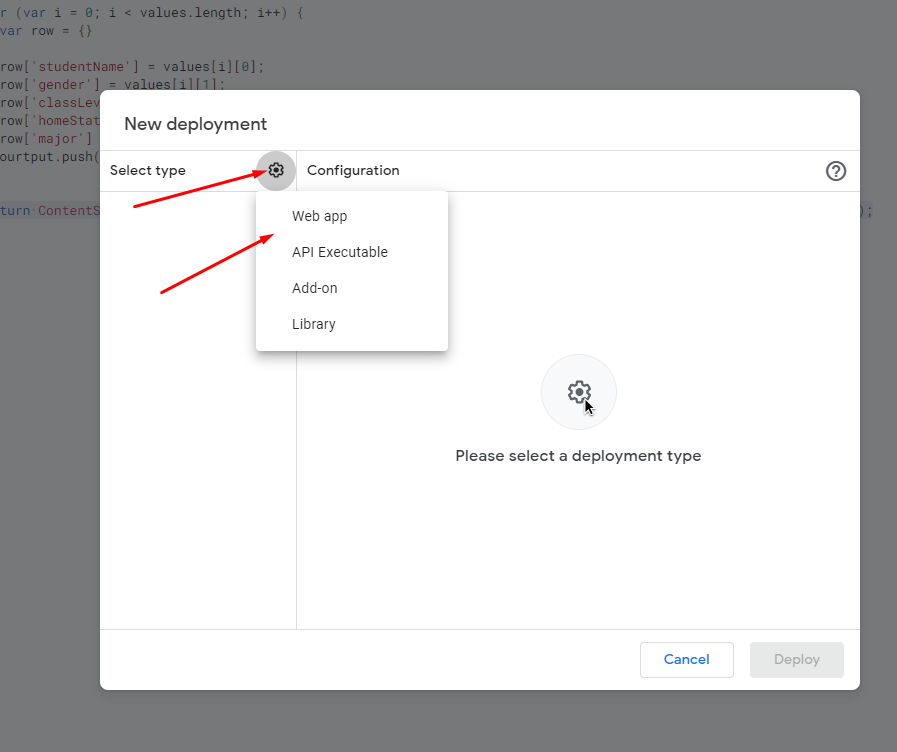
Then you will see a window popup. Click on the settings icon then the web app from the dropdown.
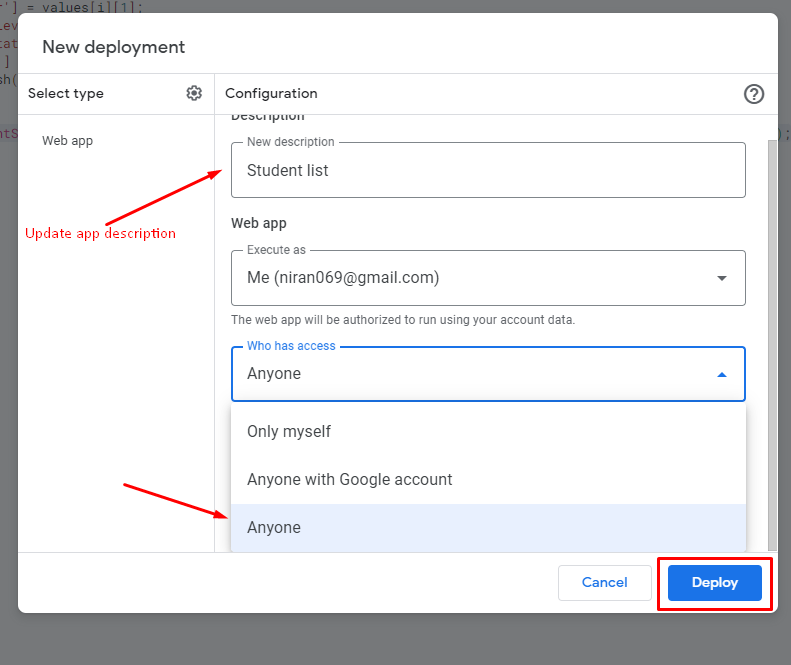
Then update the App description and give access to anyone and click the Deploy button in the right bottom corner, deploying done it may take 10 to 60 seconds
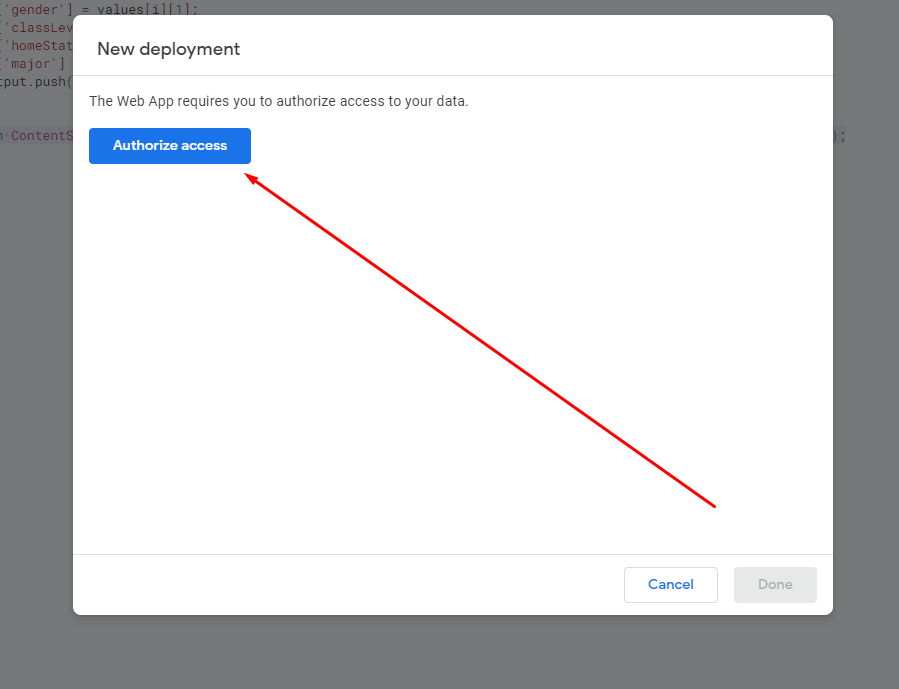
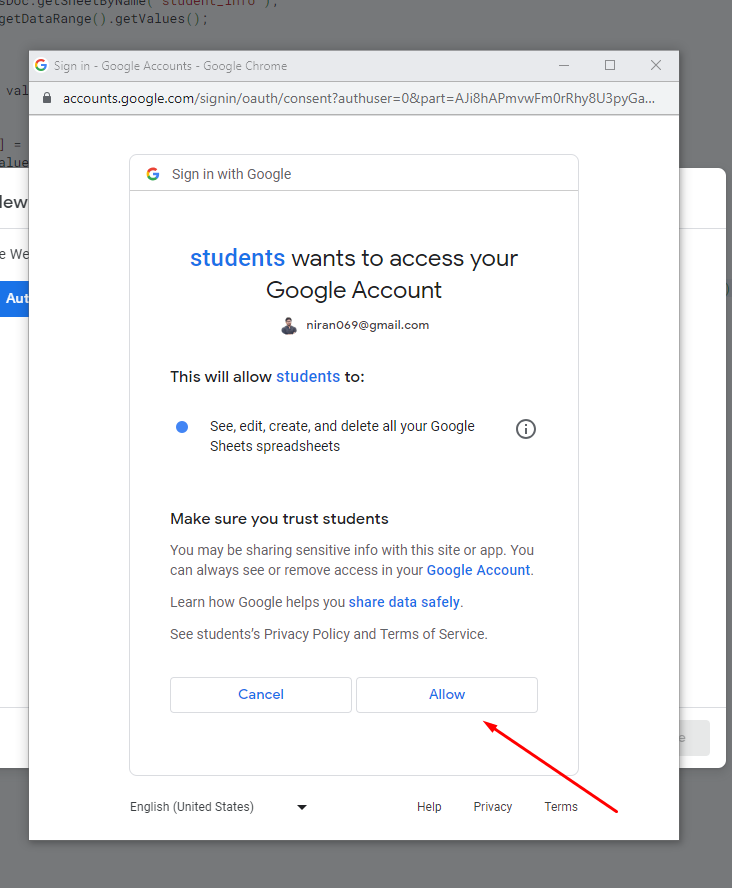
Then click Authorize access button in the new popup window.
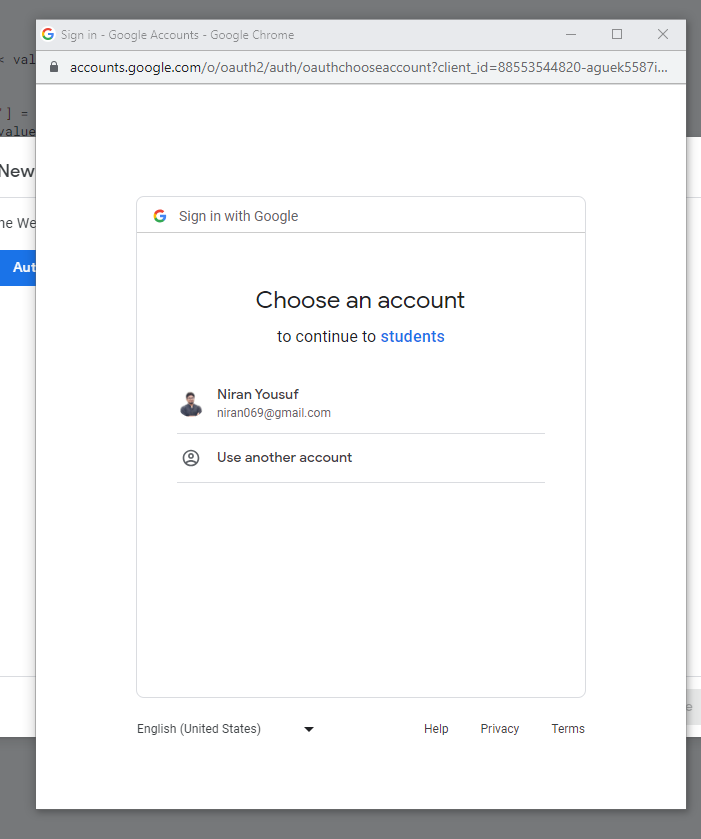
Select your authorized email,
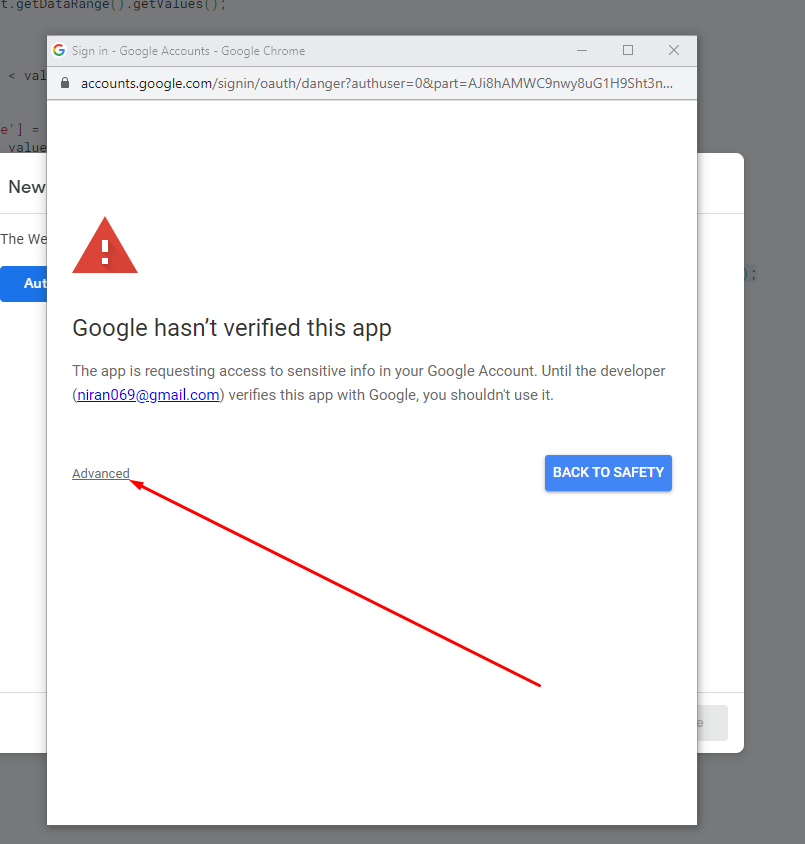
Click to advanced,
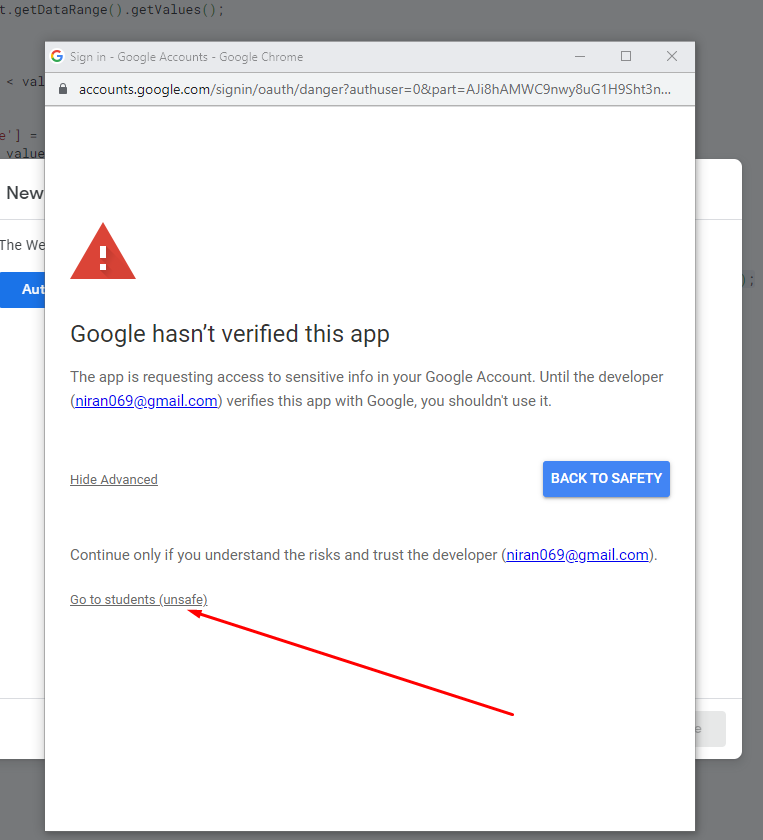
Click go to [your file name]
Then allow public view access,
Then copy the link,
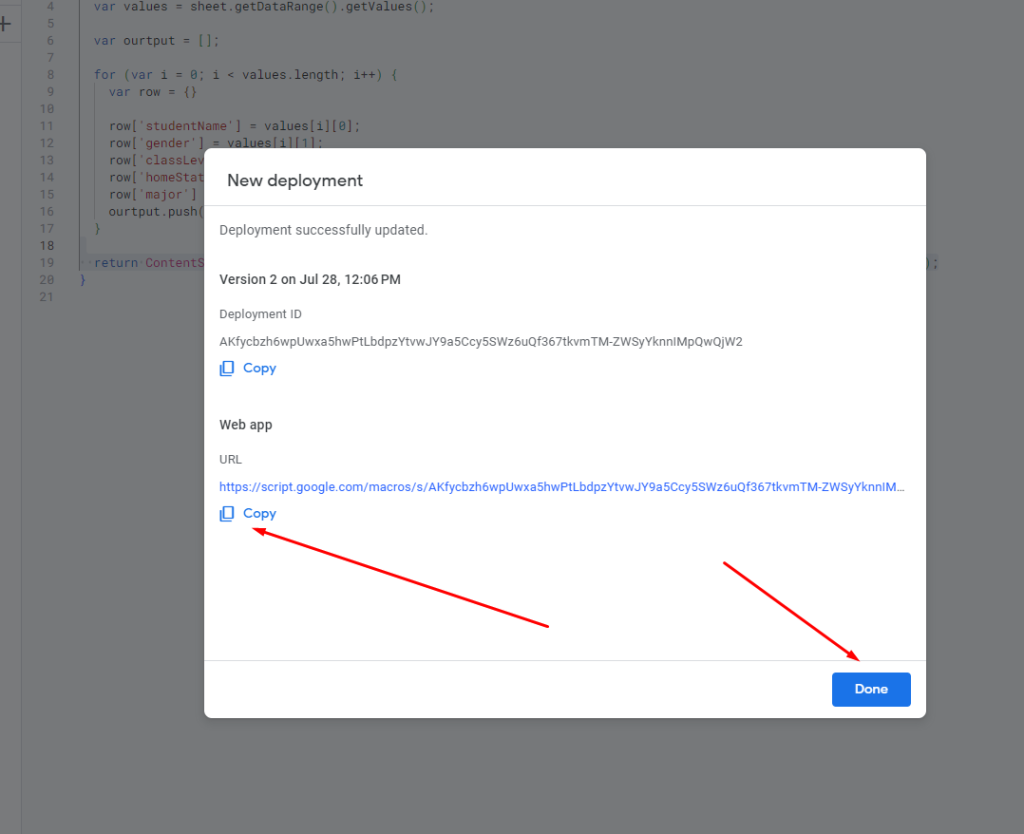
Here is my studentList JSON file link to check.